How to Make an App Without Coding
Learn how to make an app without coding with a clear plan, offline tools, and testing on an old computer, without expensive subscriptions for kids and teachers.
By Nikola Gjorgiev · · 6 min read · 4 views
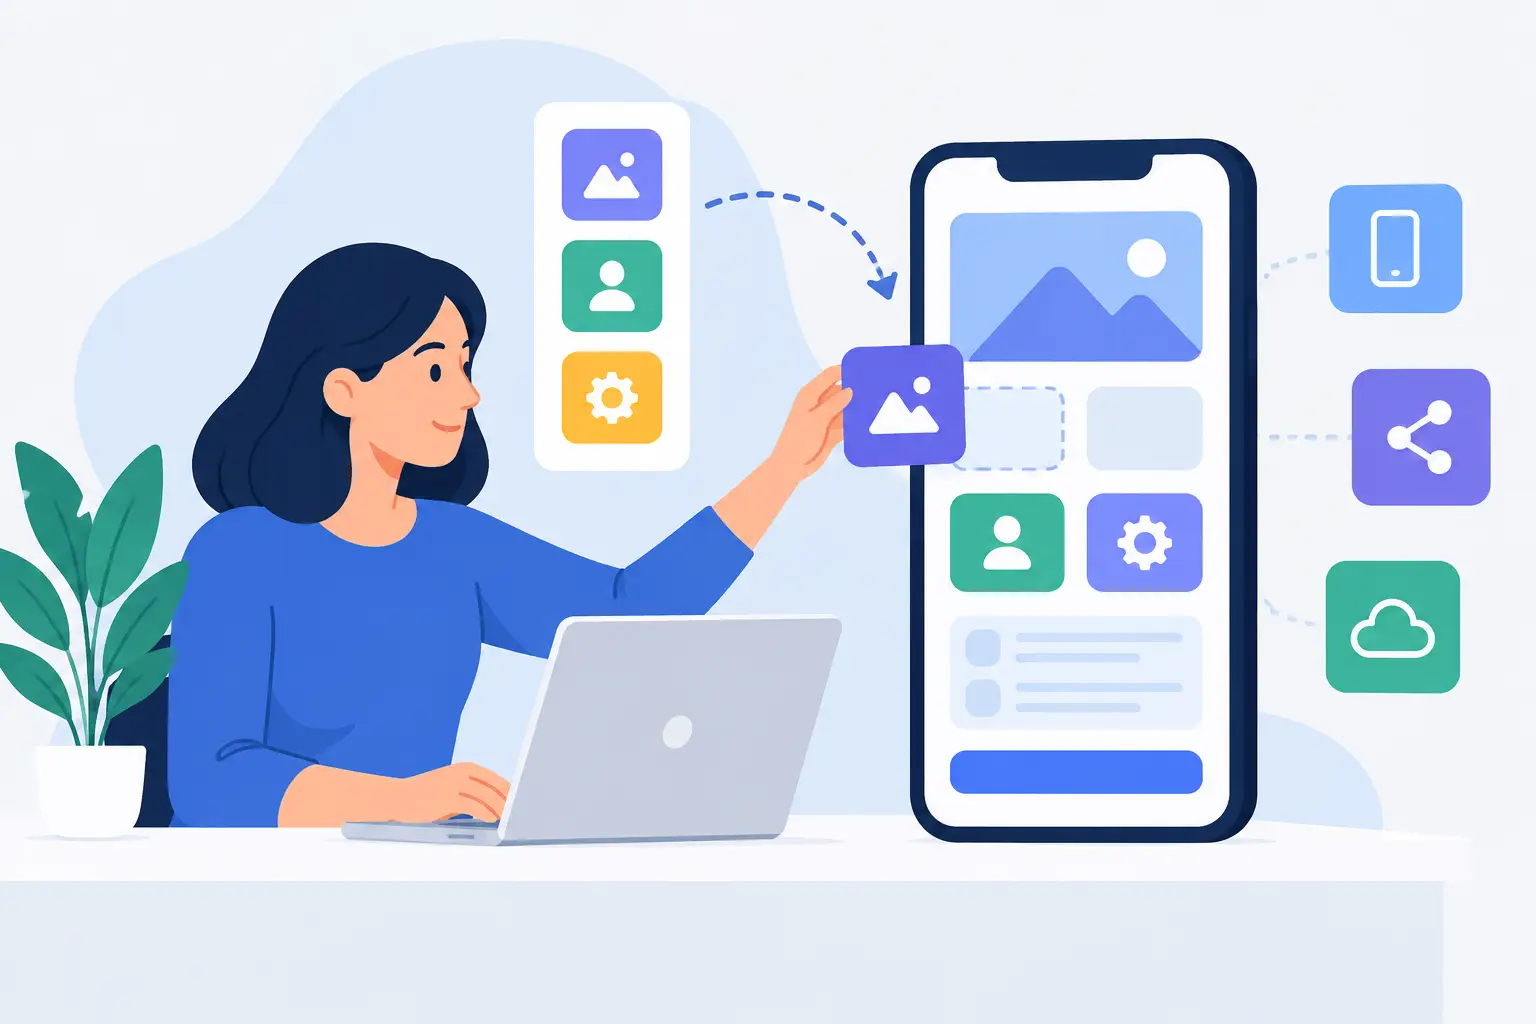
You don’t need a team of developers, a new laptop, or a paid subscription to get started. If you’re wondering how to make an app without coding, start with a small problem you really see: a child who forgets homework, a teacher keeping track of books, or a local club that needs to schedule appointments. A good first app isn’t big. It solves one thing clearly.
No-code tools let you build with screens, buttons, fields, and simple rules instead of long lines of programming code. It’s a great way for kids and beginners to understand the logic behind software. But it’s not magic. You still need to decide what the app does, who uses it, and what happens when the user presses a button.
First, don’t build an “app.” Solve a problem.
The most common mistake is to start with an idea like “I’ll make a new social network” or “I’ll make a game with a hundred levels.” Such ideas require many screens, user accounts, data storage, security, and constant maintenance. For a first project, that’s a path to unfinished work.
Instead, write one sentence: “This app helps ___ to ___ without ___.” For example: “This app helps students track assignments without paper notes.” If you can’t finish the sentence clearly, you’re not ready to build yet.
Then define the smallest useful version. A school assignments app might have only three things: a field to enter the task, a date, and a button to mark the task as done. Don’t add messages, avatars, grades, or notifications until the core function works.
How to make an app without coding: a 6-step plan
1. Draw the screens on paper
Before opening any tool, draw the app. Paper is free, works without internet, and shows if the idea makes sense.
For a simple app, usually a start screen, an input screen, and a results or list screen are enough. On each drawing, mark what the user can do. Where do they go when they press “Add”? What do they see if there’s no data entered? What happens if they leave a field empty?
This is not a kids’ exercise. Professional teams also first make rough prototypes because it’s much cheaper to erase a drawing than to redo ten screens.
2. Choose the type of app, not just the tool
There are three practical directions. A web app runs in a browser and easily opens on different devices. A mobile app is better when you need a camera, GPS, or phone functions. An offline desktop app is a reasonable choice for classrooms, homes, and programs where the internet is weak, expensive, or unavailable.
The choice depends on the task. A quiz app for the classroom can work fully offline. An event registration app might need internet to collect responses from multiple places. Don’t pick a platform just because it looks modern.
Also check what hardware the project will run on. A tool that requires 8 GB of memory and constant connection is not a good base for a classroom with donated laptops. 20 MB, not 64 GB, is the difference between technology that includes and technology that excludes.
3. Keep the data simple
Every app stores something: a name, date, score, picture, or status. Before placing buttons, make a small table with the data you really need.
For a homework app, that might be: task title, subject, deadline, and whether it’s done. Don’t collect addresses, phone numbers, photos, or other personal data if they’re not necessary. Especially when working with children, the safest data is data you never collected.
If the app runs on one device, local data storage is often enough. If multiple people need to see the same information, you’ll need a shared database or server. That brings new responsibilities: access, backups, privacy, and accountability for errors.
4. Build one complete path
Don’t make five half-finished screens. Make one task work from start to finish. The user opens the app, enters data, presses a button, and immediately sees the result.
In visual tools, this usually means connecting an event to an action: when the button is pressed, save the task; when the answer is selected, calculate the score; when empty text is entered, show a message. That’s programming as logic, even without writing code.
This is exactly where kids learn the most. They don’t just “place blocks.” They set rules: if this happens, then do that. Later the same logic transfers to Smilium, Python, or any other programming language.
5. Test with a real person
You know where all the buttons are, so you’re not the best tester. Give the app to a child, parent, or colleague and just say: “Try to add a new task.” Then be silent and watch.
If the person gets stuck, don’t explain immediately. Note where the problem happened. Maybe the button is too small, the label is unclear, or the next step isn’t visible. That’s not the user’s mistake. It’s information to improve the design.
Also test on devices people actually use. An old laptop with 256 MB memory, a small screen, or a computer without internet will reveal problems that a powerful new phone easily hides.
6. Publish carefully and improve little by little
The first version doesn’t have to be public. It can be used by one class, one family, or a small community group. The goal is to find out if the app saves time, is understandable, and works every time.
Keep a simple list of notes. First fix things that prevent use: the app doesn’t save, the text is unreadable, the button doesn’t respond. Only then add niceties. Animation doesn’t help if the student can’t find the task.
What no-code tools can and cannot do
No-code tools are good for quizzes, educational games, forms, catalogs, simple record systems, and local informational apps. They lower the initial barrier and give beginners a fast, visible result.
But there are limits. Very complex games, processing large amounts of data, working with special hardware, or fully custom functions may require code. Also, some online platforms charge when the number of users grows, add ads, or store data on servers you don’t control.
So, read what happens with your data, whether the project can be exported, and whether the app can run without a subscription. For a school, NGO, or family with a limited budget, “free today” is not the same as “affordable long-term.”
Make a project that can live on an old computer
The most valuable app isn’t always the one with the most features. It’s the one that works where it’s needed. In many classrooms and homes in Macedonia, Kosovo, and Albania, the computer isn’t new. It might be 10 years old, have a small disk, and must not break with a heavy installation.
Here offline access has real weight. With a lightweight environment like SmileyTech, projects can start from a USB device or Raspberry Pi card, without erasing the existing system on the computer. Students can make visual apps, save work locally, and learn how software logic works without ads, tracking, or credit card requests.
Don’t start with the question of whether you can make a perfect app. Start with the question of who you can make one small task easier for this week. When someone really uses your first app, you’re no longer just a technology user. You are its builder.
Did you like this post?
Share this post
Know a parent, teacher or school that should read this? Send it on.