Education · Old hardware
How to Use a USB Stick as a Computer
Learn how to use a USB stick as a computer: boot a lightweight system without installation, revive an old device, and learn without internet, without changing the disk.
By Nikola Gjorgiev · · 6 min read · 1 view
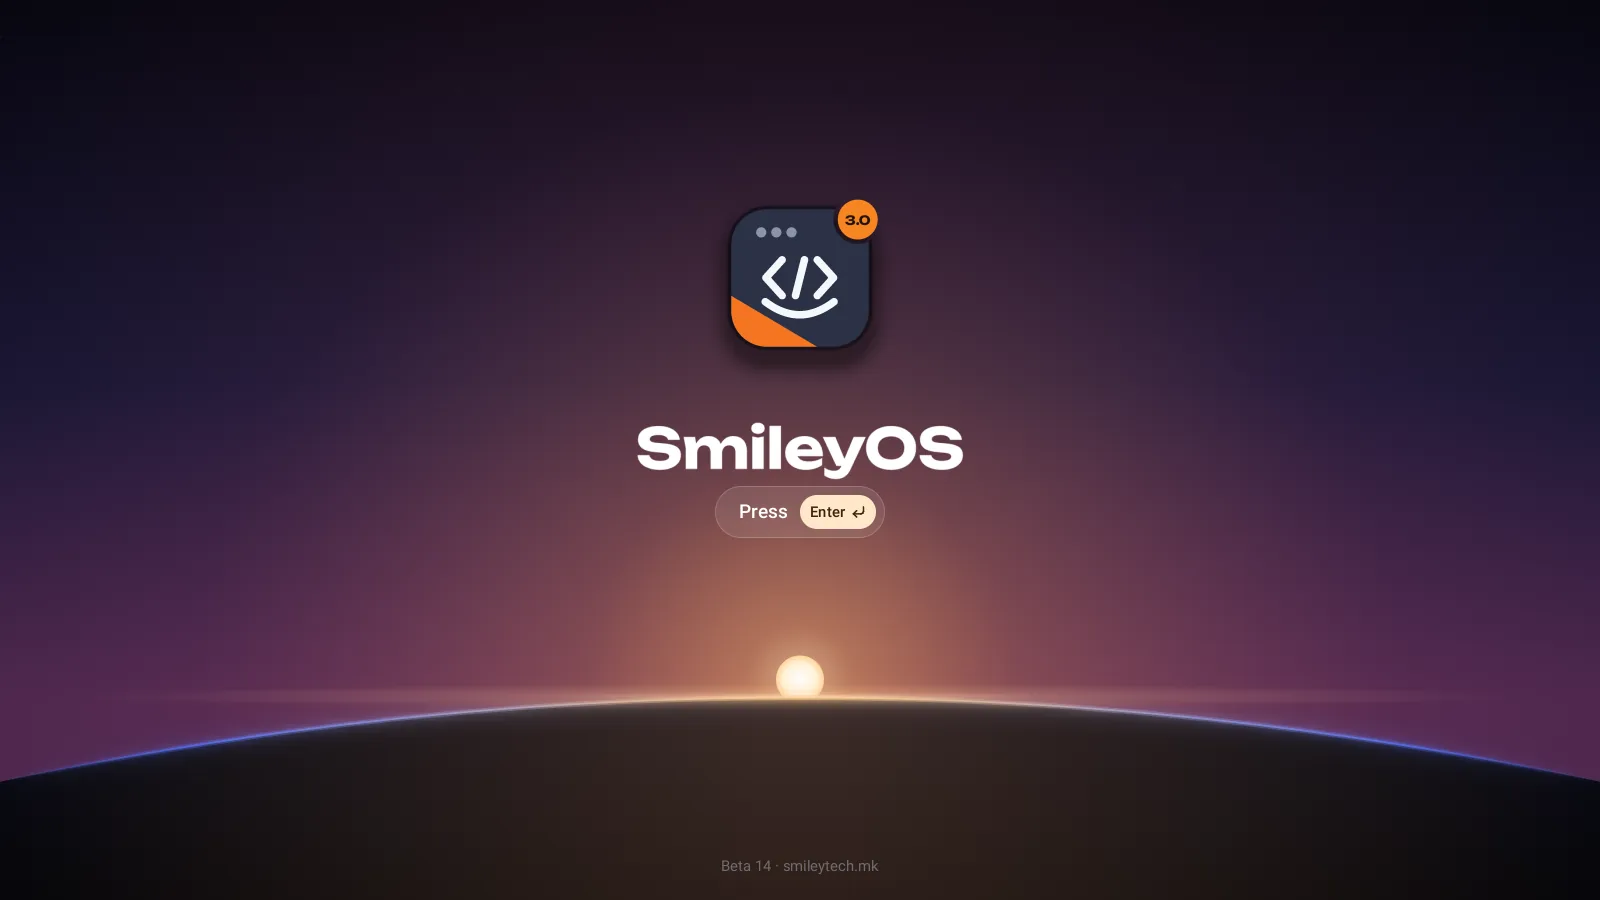
An old laptop with 2 GB of memory is not waste. A classroom computer with a slow disk doesn’t have to stay locked in storage. If you know how to use a USB stick as a computer, you can boot an entire working environment without deleting the existing system, without buying a new device, and without relying on the internet.
The USB stick doesn’t turn plastic into a computer by itself. It carries an operating system – with a desktop, programs, settings, and sometimes personal files. When the computer turns on, instead of booting the system from the internal disk, it can boot the system from the USB. This is a simple idea with a big consequence: one small stick can open a secure, portable, and useful computer on many different machines.
What You Actually Get from a USB Computer
Imagine a child going to the library, school, or a relative’s place and always seeing the same desktop. The same applications. The same documents. The same tools for drawing, writing, and learning. Instead of every computer needing to be new, fast, and expensive, the USB stick carries the environment the user needs.
This approach is especially useful when you don’t want to change the device you borrow. The internal disk can remain untouched. After restarting and removing the stick, the computer returns to its usual system. For families, this means less risk. For schools and NGOs, it means fewer installations, passwords, and hours of technical support.
But there are limits. The USB system depends on whether the specific computer allows booting from USB. On many old machines, you may need to change the boot order in BIOS or UEFI. On some newer devices, a setting like Secure Boot can prevent booting a system not signed for that feature. This doesn’t mean the device is useless – it means the settings need to be checked carefully.
How to Use a USB Stick as a Computer, Step by Step
First, you need a USB stick. For many lightweight systems, 8 GB is enough, but 16 GB or more leaves space for documents, drawings, and future updates. Speed also makes a difference: a newer USB 3.0 stick will respond faster on a computer with a USB 3.0 port but will also work in an older USB 2.0 port.
Then download an operating system designed for booting from USB and write it to the stick with a tool for creating bootable media. This process is called “writing an image.” It’s not the same as just dragging a file onto the USB. The tool prepares the stick so the computer can recognize it as a boot device.
Before you start, save everything on the USB stick. Writing usually erases old data. Choose the correct USB device in the tool – a wrong choice can erase another disk. This is a small check that saves a big problem.
When the stick is ready, turn off the computer completely, insert the USB stick, and turn it back on. Immediately press the key for the boot menu. For different manufacturers, this is often F12, F9, Esc, or F8. A list of devices will appear on the screen. Choose the USB stick, not the internal disk.
If the menu doesn’t appear, enter the BIOS or UEFI settings. There look for “Boot order,” “Boot priority,” or a similar option and set the USB device before the internal disk. After saving the settings, the machine should boot from the stick.
Let the First Boot Be a Test, Not a Risk
When the desktop appears, check a few basic things: whether the keyboard and mouse work, whether the screen has good resolution, whether sound is heard, and whether the system recognizes the Wi-Fi network if you need it. For learning, writing, and working with local materials, the internet is not required.
Open a text document, save a short note, and restart. If the system supports persistent data saving, the note will remain on the stick. If it works in a temporary mode, it will disappear after restart. Neither option is “better” in every situation. Temporary mode is useful for public computers and exam environments. Persistent saving is better for a student working on a project over several days.
Choose a System Based on the Task, Not the Advertisement
Many modern operating systems require gigabytes of memory, tens of gigabytes of space, and constant updates. This may be reasonable for a powerful new machine. It’s not reasonable as a requirement for a child who needs to write an essay, learn folders and files, or make a first game.
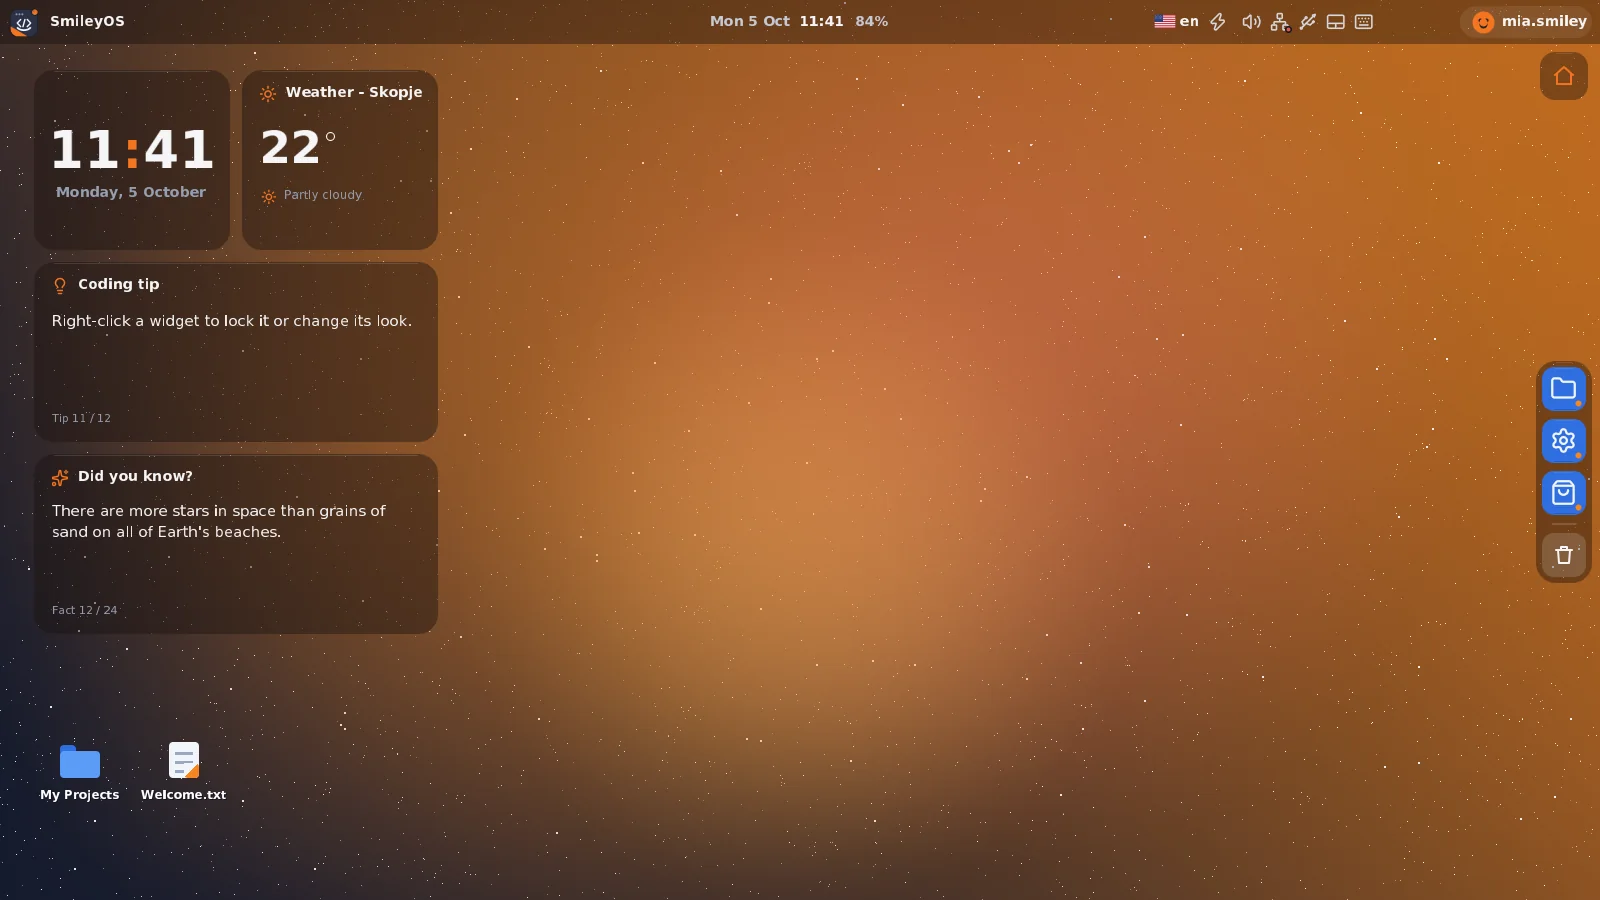
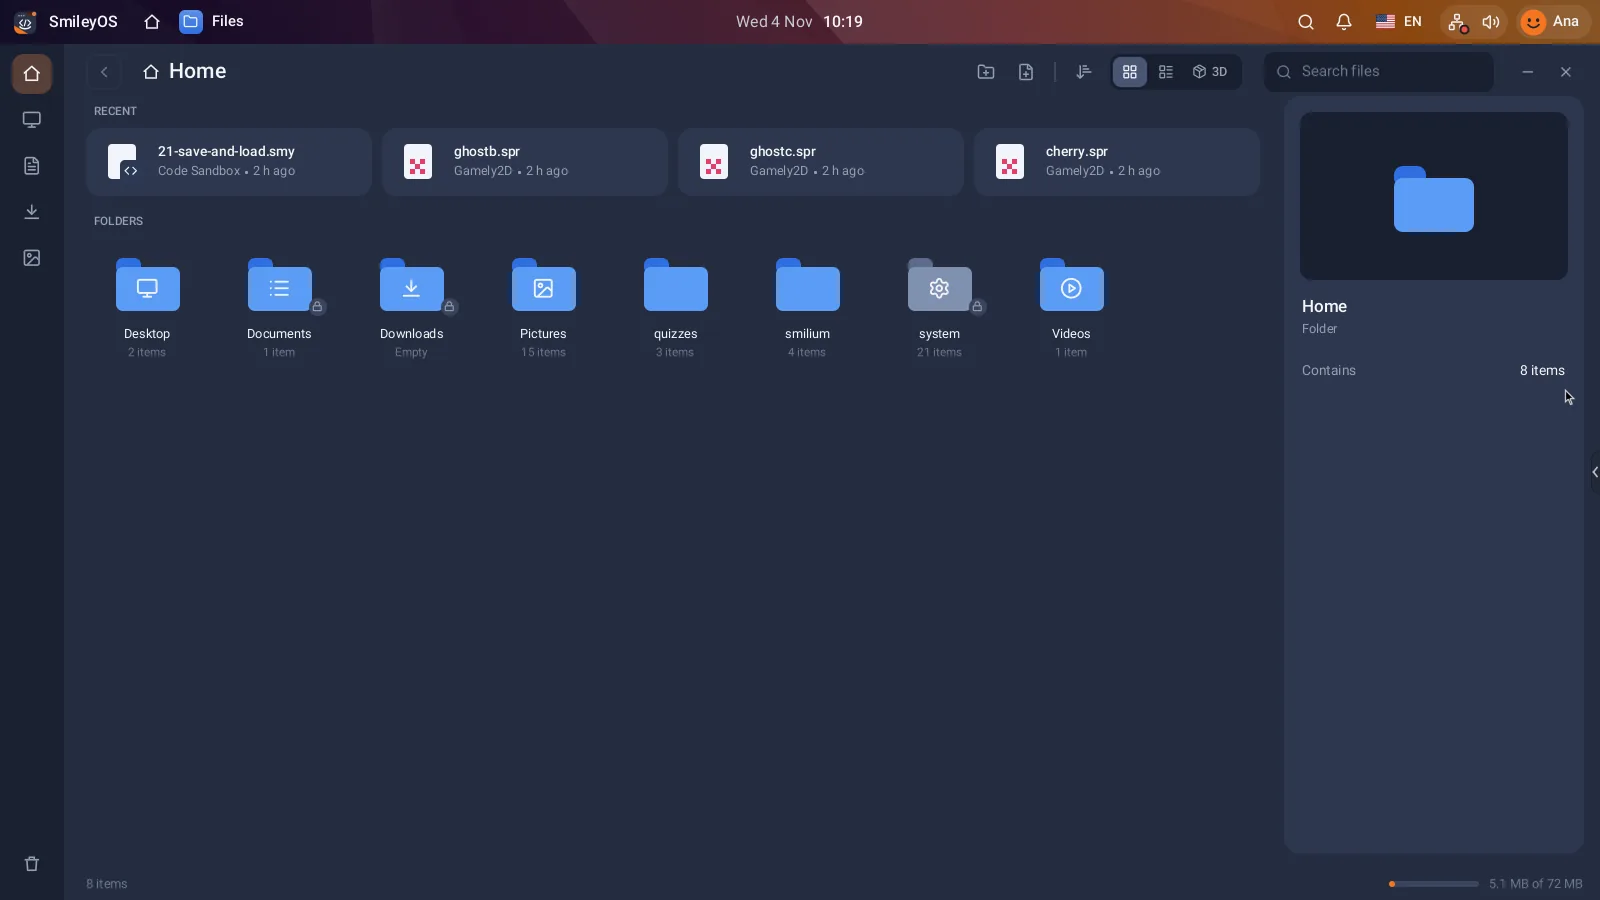
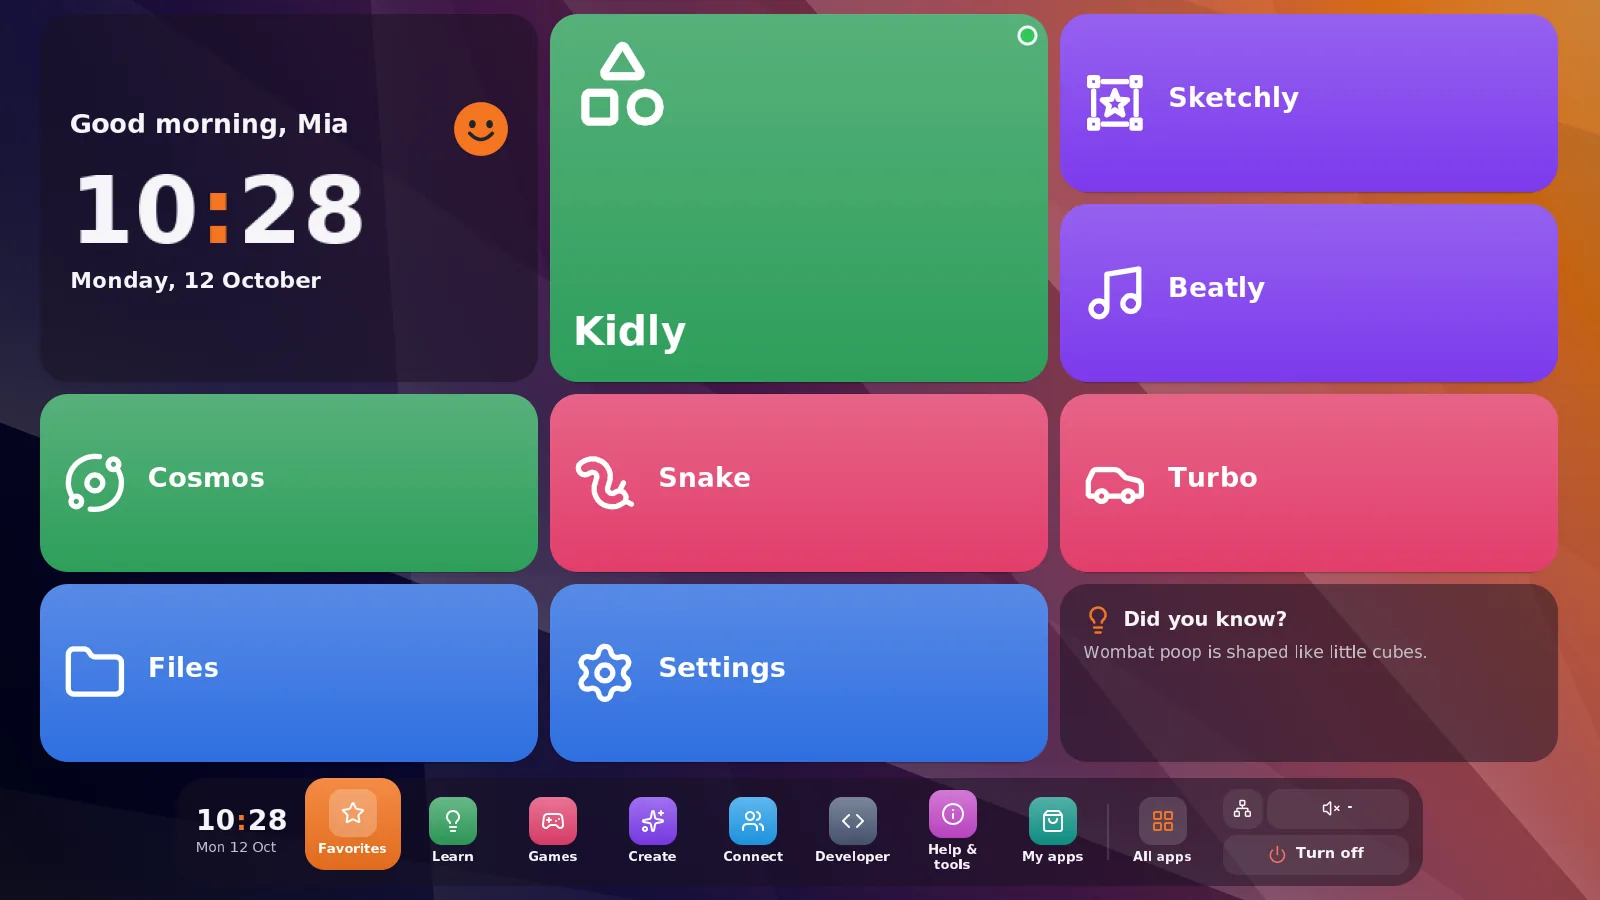
A lightweight system has a different task: to provide a useful computer on hardware that big platforms have already pushed aside. SmileyOS, for example, is a system of about 20 MB with 20 built-in applications and games, created to run from a USB stick and on machines with only 256 MB of memory. That’s 20 MB, not 64 GB. For basic digital literacy, the difference is not marketing – it’s access.
When choosing a system, look at what the user will actually do. For a small child, clear icons, learning games, and an ad-free environment have more value than thousands of available applications. For a teacher, offline documents, simple file management, and predictable startup on every computer are important. For a program in prison or a remote community, a controlled environment and work without the cloud are necessary.
Where USB Access Is Strongest
At home, the USB system can be a child’s first computer without handing over the family laptop entirely. The child learns to use a mouse, windows, folders, and keyboard in their own environment. The parent doesn’t have to open user accounts, install antivirus, or deal with ads in educational apps.
At school, the same stick can turn a room with donated computers into a working classroom. Instead of buying 20 new laptops, the institution can first check how many of the existing devices can be returned to use. Sometimes the answer is more than you expect. The battery may be weak, the case scratched, but for working at a desk with a charger, the machine can still be a good tool.
In environments with weak or expensive internet, offline access is not a backup plan. It is the main plan. Locally saved lessons, documents, coding exercises, and creative tools continue to work when the network goes down. It’s more practical and more private: the child’s personal data doesn’t have to travel to ten different services to open one task.
What Can Go Wrong
The most common reason for a slow experience is a weak USB stick, not just an old computer. A cheap and worn stick can read and write data very slowly. If the system is intended for everyday work, use a quality stick and keep a backup of important documents on another device.
The second reason is incompatible hardware. Especially old Wi-Fi cards, unusual graphics adapters, or locked work laptops may require additional checks. That’s why it’s wise to test on one device first, then prepare ten or a hundred sticks for a program.
Don’t expect the USB computer to replace a workstation for heavy video editing, new 3D games, or large professional projects. That’s not its purpose. Its strength is in making basic things accessible: reading, writing, learning, programming, drawing, and creating.
Small Device, Real Independence
A well-prepared USB stick is more than a backup tool in a drawer. It can be a personal classroom, a safe environment for first steps with a computer, and a second chance for a machine others have already written off. Start with one old computer, one stick, and one clear task. If the child can sit down, boot the system, and create something of their own, then the device is already doing the most important job.
Did you like this post?
Share this post
Know a parent, teacher or school that should read this? Send it on.